Wordpress development environment with Docker Part II: Using Docker Compose to install WordPress

This is part II of an ongoing series about WordPress development with Docker. Part I was about installing Docker and preparing the environment. Our goal this time, is installing WordPress in a container, a database, and play a little bit with it.
Table of Contents
- Prerequisites
- Directory structure
- Using docker-compose
- Setting up WordPress
- Setting up a database
- Bonus part
- Wrapping up
Prerequisites
A fonctionning installation of Docker (see Part I. A command line / Terminal. A web browser of your choosing.
Directory structure
We will use a simple directory structure, create a folder on your OS, then create an empty docker-compose.yml in it.
mkdir wp-docker
cd wp-docker/
touch docker-compose.yml
Using docker-compose
Compose is a tool for defining and running multi-container Docker applications. With Compose, you use a Compose file to configure your application’s services. Then, using a single command, you create and start all the services from your configuration — Docker Compose documentation.
You can also launch containers one by one by doing a docker run + parameters, but it is not really friendly (yes, this is highly subjective), and very verbose as you have to type a list of parameters the size of the Mississippi. Compose is a tool made to combine the launch of multiple containers ( = multiple run commands), with the help of a YML file. This file can take a lot of parameters, we will focus on the key ones we will need in order to accomplish a WordPress installation. As always check the Docker documentation to know more.
For illustration purpose, we will use the syntax version 1 of the Compose file.
Setting up WordPress
What we want for starter is to be able to launch WordPress on an Apache server and a database. We have to define two containers, and what image it should use when we will invoke the Compose program. Note that we can name or containers however we want, as it is just a label that will help ourselves to link the containers between them and see what is going on in the CLI.
Fire up your favorite text editor, and insert the following text. Save it into the docker-compose.yml as it is the default name that Docker will invoke. You can name it with another name, but you will have to tell the program explicitely (see Bonus section).
wordpress:
  image: wordpress
  ports:
    - 8080:80
You see that the text is indented, it is crucial to keep the text as is, as it is the norm for YML files. First line with “worpdress:” is the name of the container. Second line is the name of the image you will use (remember Part I, Docker has a directory of pre-build images with a lot of softwares ready to be used). We will use the official (and latest version) WordPress image. Next parameter is the ports. In order to connect to the website, we need to tell Docker to map the port that is running on the Docker Machine, to a local port on our computer.
We can see what’s going on if we try to launch Docker Compose with what we have in the Compose file.
$ docker-compose up
[...]
It will pull the WordPress image from the repository, with PHP and an Apache server as dependencies, install and configure everything with default values (it may take a little time, depending on your internet connection). but if you try to connect to the WordPress instance (http://192.168.99.100:8080), chances is that you might get an error due to a lack of database.
Setting up a database
In order to use the website, we need to install a database as well, something like MySQL. I choosed MariaDB image from the Docker Repository, as it is an open source fork of MySQL, and it is nicely offered to us. You are probably asking yourself how we are going to access this database instance? Docker provide us with a “environment” section where we can put the variables we need to override the default configuration (Refer to the Environment section on the Docker documentation, and Environment Variables section on the Docker Hub page of MariaDB in order to know what can be tweaked).
The final step is to link the WordPress container with this database container: this is a one liner. under a new “links” section, add the following code to your Compose file.
wordpress:
  image: wordpress
  links:
    - wordpress_db:mysql
  ports:
    - 8080:80
wordpress_db:
  image: mariadb
  environment:
    MYSQL_ROOT_PASSWORD: examplepass
Run an “up” command and see what is going on.
$ docker-compose up
[...]
As you can see in the screenshot, launching the browser with the url of the website, we are now greeted with the WordPress install step.
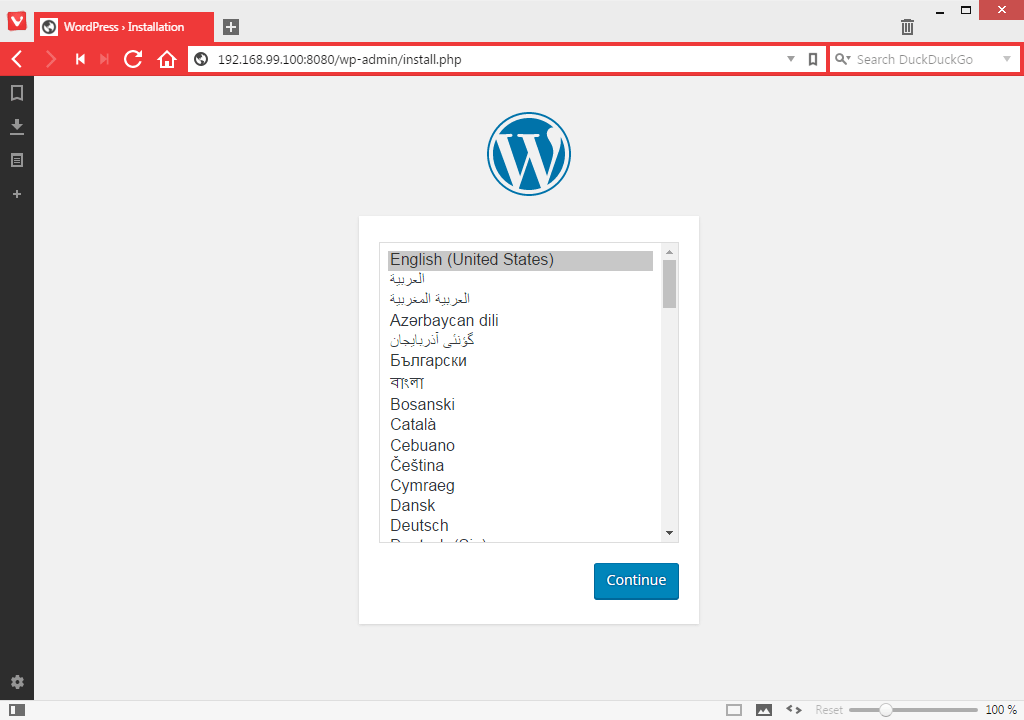
Configure the parameters that are asked, then login to the WordPress admin interface. And voila!
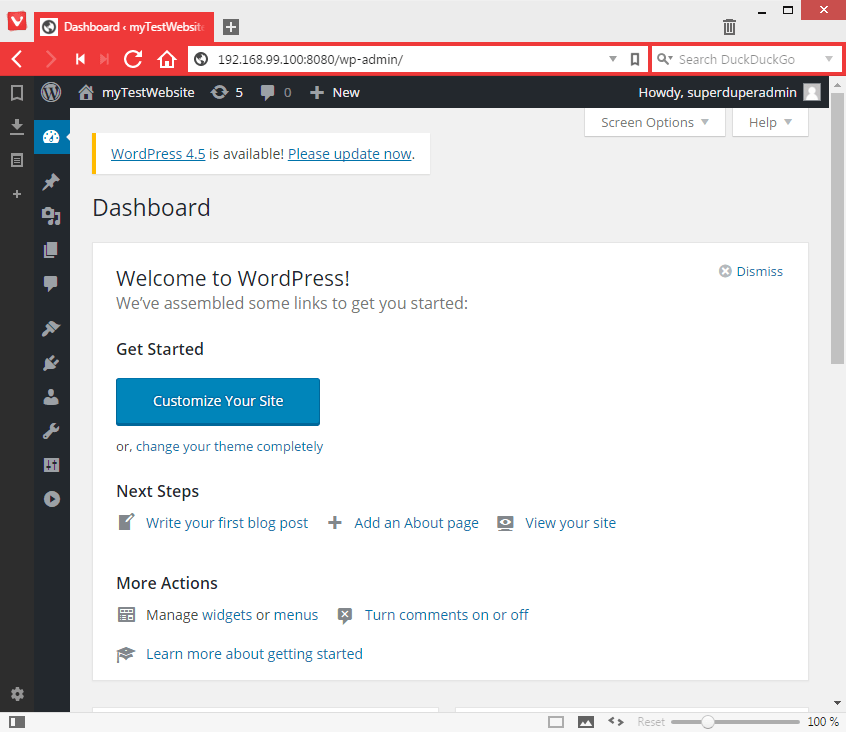
You can now configure everything like a regular WP installation, install themes, plugins, etc..
Bonus part
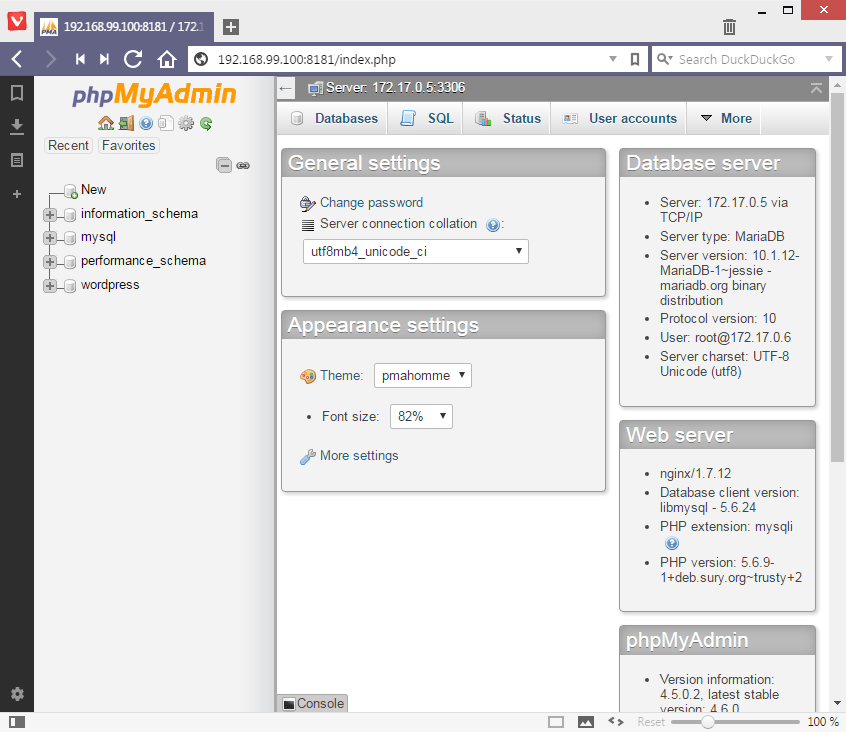
phpMyAdmin
Being a command line ninja is pretty cool, but sometimes, one like to have an interface to navigate through the MySQL databases. Like for MySQL, we need to add a container in the Compose file and link it to the database instance.
wordpress:
  image: wordpress
  links:
    - wordpress_db:mysql
  ports:
    - 8080:80
wordpress_db:
  image: mariadb
  environment:
    MYSQL_ROOT_PASSWORD: examplepass
phpmyadmin:
  image: corbinu/docker-phpmyadmin
  links:
    - wordpress_db:mysql
  ports:
    - 8181:80
  environment:
    MYSQL_USERNAME: root
    MYSQL_ROOT_PASSWORD: examplepass
As you can see, we use the 8181 port to access the admin page of phpMyAdmin, and we add environment variables to configure an account with a login and password. Launch the browser with the new url.
BOOOOM!!!
Renaming the Docker Compose file
I get it, docker-compose.yml is a lame name, there are situations when you want to be able to launch different configurations. Let’s create a different file, called “dev”, with the content of the docker-compose.yml file.
cp docker-compose.yml dev.yml
Launching this configuration will not be more difficult that previously, we add to tell the program to use a different path to compose. Use the -f flag with the new Compose file name.
$ docker-compose -f dev.yml up
[...]
Wrapping up
In this article, we learned how to use the Docker Compose program, and create a simple docker-compose.yml file to install and launch a WordPress website with a MySQL instance.
What comes next? how are we using this to integrate plugins or themes
development and get down to business ? Read part III: integrating a development theme.